How To Recover A Digital Camera That Has Been Submerged In Liquid
Recovering a Submerged Digital Camera
Pint glasses can make decent tripods for taking
low-light pictures in pubs.
There is, however, one important step:
FINISH THE BEVERAGE FIRST.
The following procedure describes how to recover a FujiFilm FinePix A500 camera that has been completely submerged in Tennent's lager. It is not guaranteed to work on that combination of camera and fluid, let alone any other combination....
The Submergence
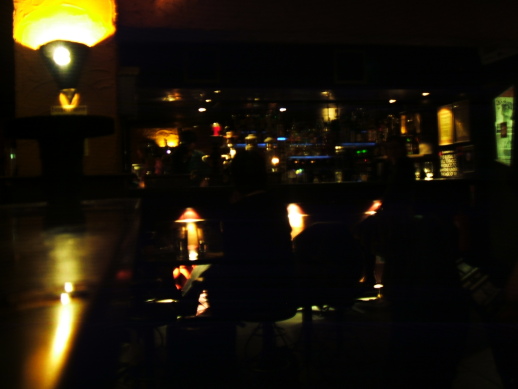
I have done the glass-as-tripod trick a lot of times. The first picture below is an example from The Basement pub and restaurant in Edinburgh, Scotland.
Immediately after taking that picture, my camera went for a swim. Completely submerged.
And after fishing the camera out and shaking off the excess liquid, the second picture was taken immediately after submergence.

It's generally darker with extreme contrast and, unsurprisingly, an overall yellowish tint to whatever isn't extremely dark.
Within a minute it began behaving erratically and certainly wouldn't capture another picture.
Immediate Steps
Removing the batteries left the lens extended, and with it like that I took it into the pub washroom and rinsed it for a while under the tap in the sink.
Then I put the batteries back in (it was behaving no better at that point, by the way), and pressed the power button once to retract the lens.
It was getting close to the end of my trip, and there wouldn't be any further pictures taken on that trip. The last pre-submergence picture was image number 6,572 that I had taken with the camera, so I had certainly gotten my US$ 150 or so out of it. But if I could recover it and still use it...
I put the camera in my backpack and checked that into the cargo hold for the flight back across the Atlantic Ocean. That meant that the camera would be in a relatively low-pressure dry environment for seven to eight hours, which would help to remove moisture.
Ideally, I would have partially disassembled the camera and then submerged it in a series of distilled water baths each followed by time in a vacuum chamber. Lacking the vacuum chamber, I would try some alternative.
Recovery
Back at home, with the camera completely dried out (or so it seemed), I tried powering it up. It behaved reasonably, but the imaging array seemed to have a translucent film on it. The LCD on the back showed a nearly uniform color about like the background of this page. It did show variation in overall brightness, so it wasn't completely hopeless. Time to open it up.
First, I partially disassembled the camera. This was made more difficult by Fuji's annoying use of small machine screws with Y-shaped drive slots.
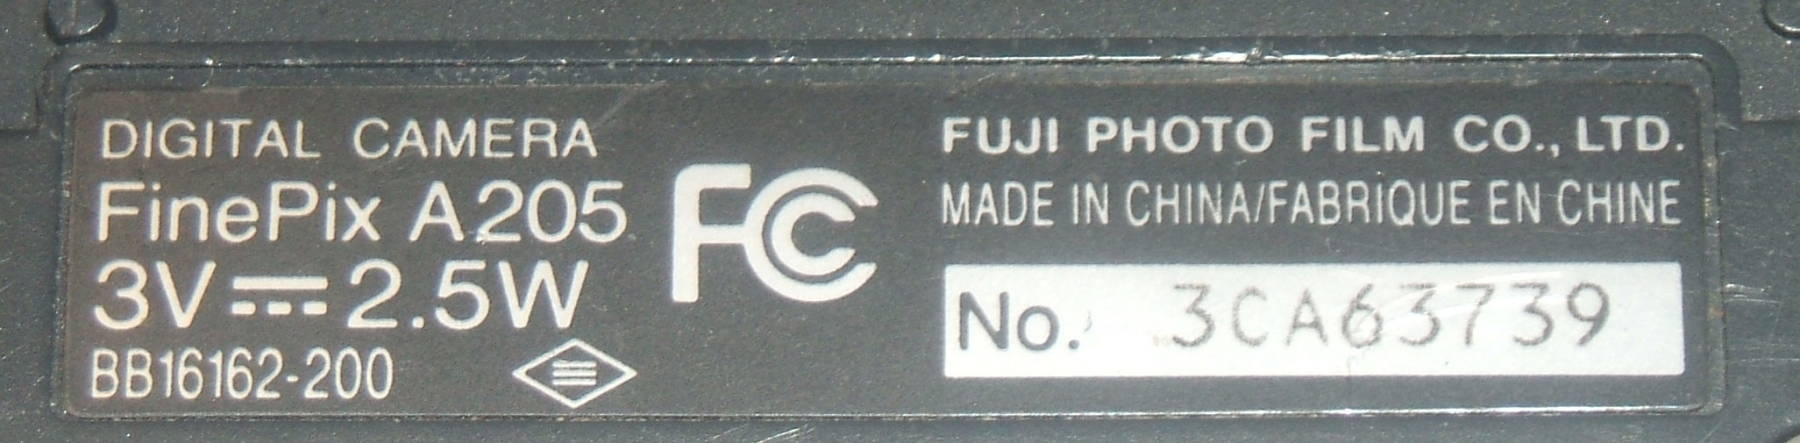
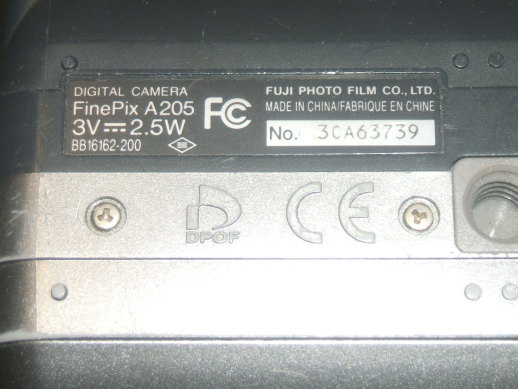
Here is a picture of those screws as found on an older camera that I destroyed in a different way, a FujiFilm FinePix A205 on which I somehow managed to crack the rear display. It still works just fine if you leave the rear display off. If the rear display is on, it cannot focus. Some time ago I replaced it with the one I had just submerged.
A small jeweler's screwdriver inserted into just one of the three Y legs managed to loosen all the screws except for one. On that one screw I used a small dental bur in a high-speed Dremel drill to create a somewhat rough straight slot.
The front and rear halves of the case come apart at an obvious seam. Most of the assembly is attached to the front part, although a short flat ribbon-type cable goes to components on the rear part, primarily the LCD display. The two case halves can be laid out like a book opened flat on a table.
Similarly small machine screws with normal +-shaped drive slots mount the largest circuit board through some assemblies into pegs extending back from the front half of the case.
I removed those screws and at least loosened the main board. This partially exposed the imaging array. The lens assembly, roughly a short cylinder, largely blocked any view of the imaging array, but at least it was exposed.
I saw some slight moisture within the camera, down within the assemblies only exposed by loosening the main board. It's much easier to get fluid into a small-scale finely-constructed device than it is to get the fluid back out again...
First, I simply immersed the camera in a small glass baking dish filled with tap water. I left the tap pouring a light stream of water into the dish, so as to keep the water circulating.
Why submerge the camera again?
Why not? It clearly didn't work as things stood.
Furthermore, most of a digital camera is surface-mount electronics, which certainly won't be bothered by immersion in water. (at least when not powered up!) The only parts that only worried me about water damage from oxidation were the mechanical ones, meaning the lens assembly.
I turned off the tap after maybe thirty minutes, poured out the tap water, and poured club soda from a freshly opened two-liter bottle into the dish, deep enough to submerge the camera.
Why club soda?
Beyond simply having heard "club soda lifts out stains", I reasoned that its bubble formation would tend to lift surface contaminants.
There was fairly aggressive bubble formation. Every five to ten minutes I would tap the camera enough to remove all the bubbles clinging to the visible surfaces. It seemed that the bubbles had grown large enough by then that some areas were within bubbles rather than having small bubbles form and coalesce. I wanted the carbonated water to provide both solvent and very small scale agitation.
After 30-45 minutes I emptied the dish and re-filled it with club soda. Then another 30-45 minutes of bubbling and periodic tapping.
Finally, since this was club soda, with some sodium bicarbonate and even a little salt (!!) according to the label, I flushed the camera by re-filling the dish with distilled water, vigorously agitating it, and emptying out the distilled water. I repeated that five or six times. Carbonated water, labeled as "sparkling water", would have been a slightly better choice than club soda. But that would have required driving to the store...
Now it was time to thoroughly dry the camera. It was also time to visit family at a holiday for a few days. I dried the dish and then lined it with aluminum foil to serve as a reflector. I placed the camera in the foil-lined dish, and placed a desk lamp with a 60-watt bulb directly above it.
I returned six days later to find what seemed to be a completely dry camera.
The Test — The Camera Seems to Work!
I have since taken at least 800 more pictures, and the only sign of its inappropriate swim is haze around relatively bright lights.
Without planning this as a test, I happened to take very similar pictures of the same tree at Christmas both the year before and immediately after this. Compare the two pictures, taken from opposite corners of the room, and notice the slight haze in the post-submergence image:
Pre-submergence

Pre-submergence
Post-submergence

Post-submergence
Now What?
My best guess is that the haze is caused by a thin film on the imaging array itself or possibly within the lens assembly.
I think I don't mind the slight haze effect. It only shows up high-contrast scenes that are fairly dark overall, as in the above examples.
I could repeat the cleaning, trying to remove the remaining contamination. That would deserve actual carbonated water as opposed to club soda, and possibly more careful attention and more and longer rinse cycles.
But for now I'll let it keep going until I find some other way to finally destroy it. The "after" Christmas tree picture at right above is image number 7,288 with the camera, and the picture of the screws on the older camera is image number 7,342.
Below is an example of a brightly-lit scene, and a detail cropped from within it. The image seems to be as sharp as the camera ever provided in the first place:

Image downsampled to 25% of original 2592x1944 pixels.

Detail from the original image, left of dome, 840x300 pixels.
The latest developments —
I have since bought a new camera after being annoyed by the haze on a number of pictures taken around Christmas of small bright lights in dark environments.
It was cheap and I still have this one for experiments.