Building a Vaguely Steampunk Lamp
Building a Lamp
I had an old electrical item that had been sitting around for ages. It wasn't very attractive as a case for an amateur radio project as it was made of steel rather than the far friendlier aluminum. But it had an interesting heritage and a pre-World-War-II design. So, it was a useful starting point for building a lamp.
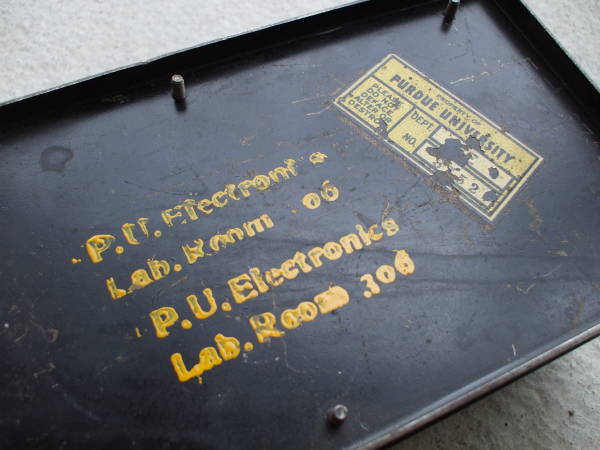
It started with this old piece of test gear I had picked up from Purdue University's Campus Salvage sale — a test box used in introductory electrical engineering labs. It has a nice hammered-finish paint job.
External dimensions:
22 cm x 11 cm x 7 cm (LxWxH)
Very nice black hammered finish steel case.
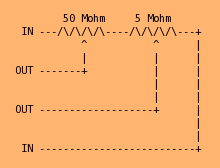
Two terminals labeled Input, two terminals labeled Output, and two variable resistors.
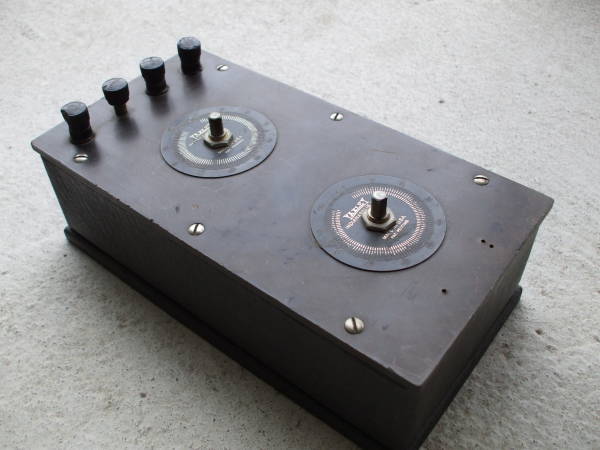
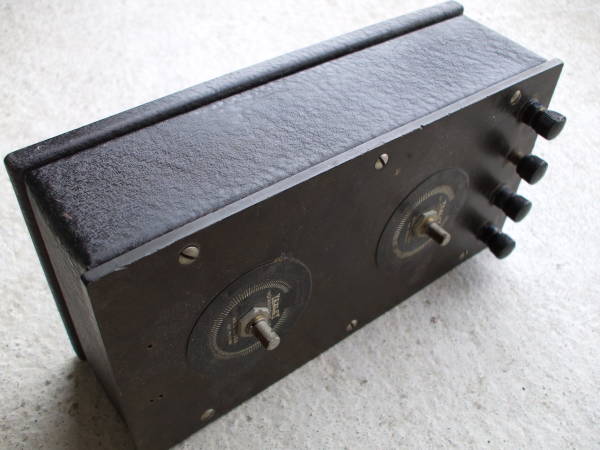
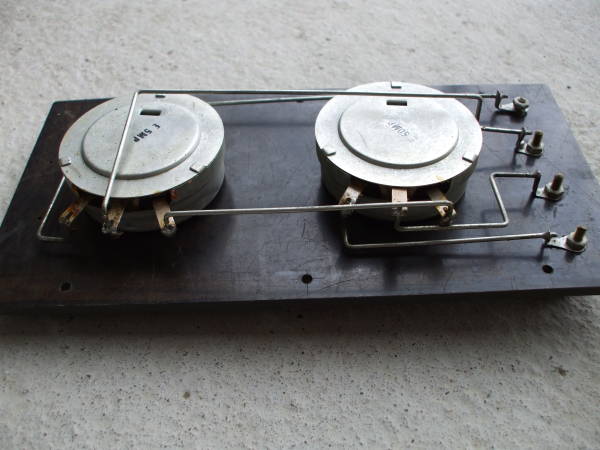
This is from back in the days of vacuum tubes, with high voltages and high impedances.
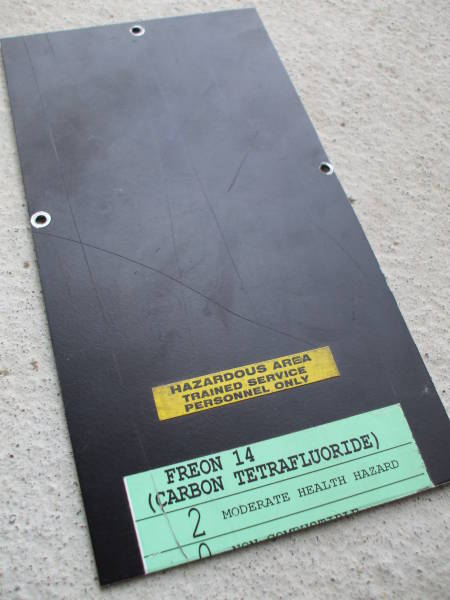
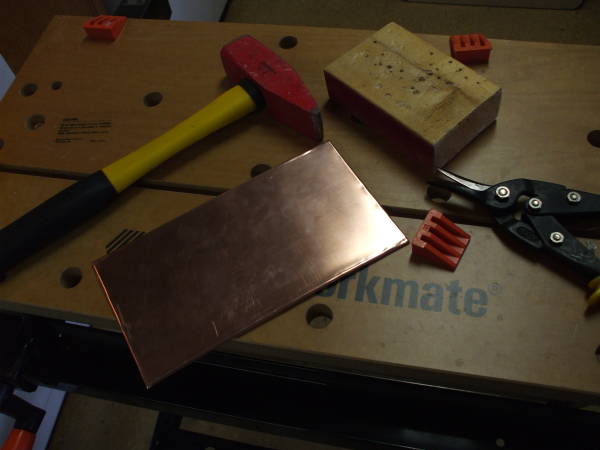
A new top panel was needed, and this interestingly labeled aluminum panel was in the scrap bin. All that was needed was to trim it to length.
I already had a roll of copper flashing — 6 inches (15.2 cm) wide by 10 feet long, a much better deal by area than smaller pieces.
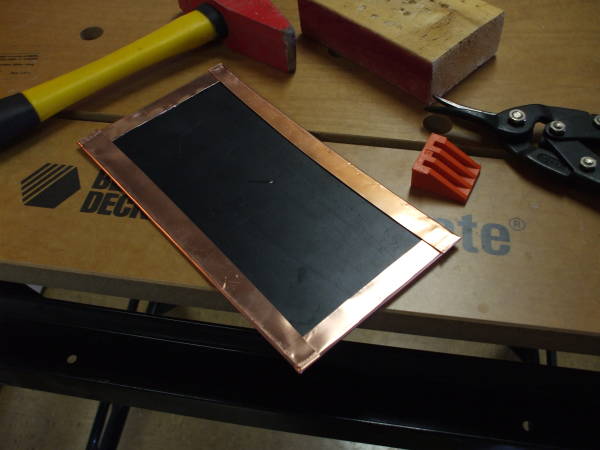
The flashing was just a little wider than the new top panel. So I cut off a length about 3 cm longer than the panel and bent it into shape.
I cut holes with a hole saw for mounting some old-style porcelain lamp sockets. These are the sockets that mount into a panel hole by screwing together the two halves.
I drilled smaller holes to mount an SCR-based dimmer switch with brass screws.
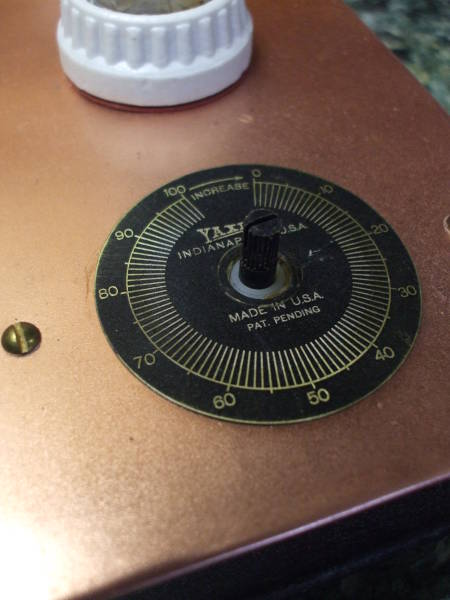
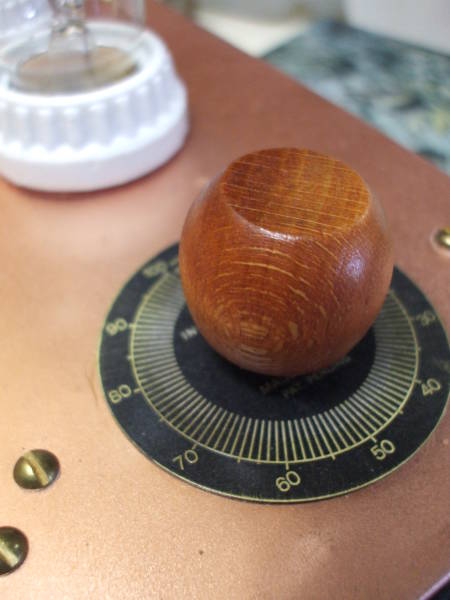
I removed the calibrated dials from the original top panel and traced the outline of the dial with a pencil. I roughened the copper within that circle and the back side of the dial using coarse sandpaper. Then I coated each with contact cement and allowed it to dry.
Contact cement is a smelly mess to use, but it's one of a limited number of ways of bonding aluminum to copper. Luckily this application requires very little mechanical strength....
Once the cement had dried, I carefully placed the dial on the panel. You have to get this exactly right the first time, you can't move the pieces once the contact cement surfaces touch. I then sprayed the top panel and dial with Krylon clear sealant. Several light coats with the final coat smoothed with #0000 steel wool. This shows a detail of the top surface of the panel after the sockets and dimmer were mounted.
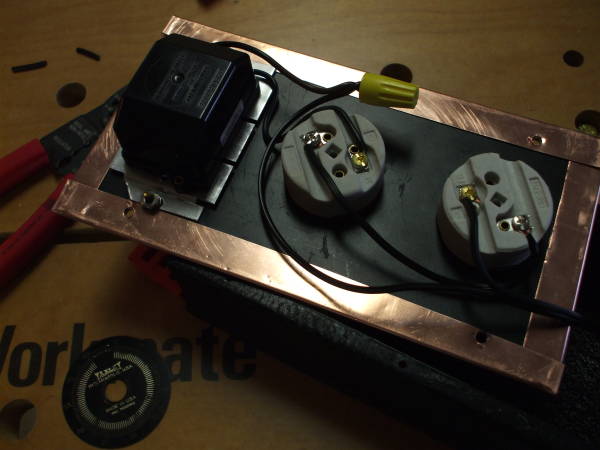
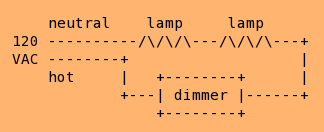
The sockets were wired in series to limit the maximum brightness.
As a side effect, this greatly increases the bulb life.
As another side effect, this would make a union electrician shudder.
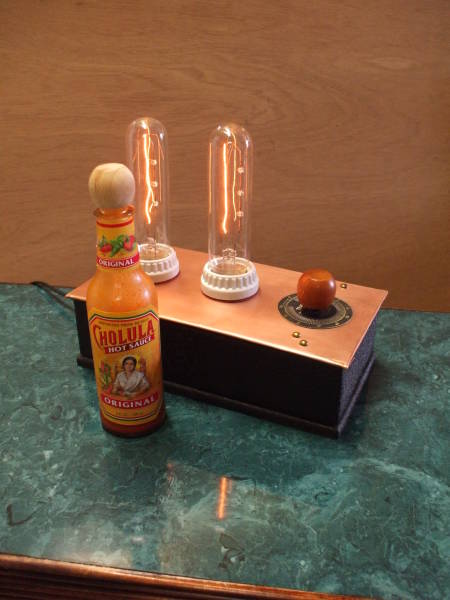
The next step — finish a bottle of Cholula hot sauce. This is good stuff, named for the Mexican village where you find the largest pyramid in the world as measured by volume. (volume of the pyramid, not the bottle)
OK, why hot sauce?
For the wooden cap.
SCR dimmers come with rather ugly plastic knobs, while this project needed a nice wooden knob.
This shows a bottle of the original Cholula recipe with a cap in natural wood, but the garlic and chile version has a wooden cap already finished in a darker color. I used a cap from a bottle of the garlic and chile version, finishing and discarding the bottle well before I got around to taking these pictures...
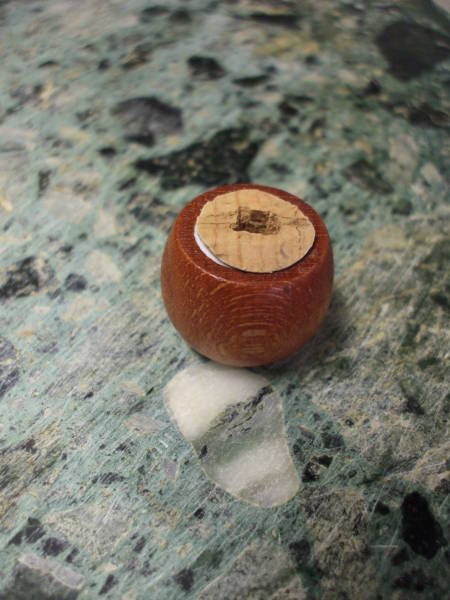
I screwed a cork into the plastic cap embedded within the wooden cap, cut it off flush with the bottom of the wooden cap, and drilled a hole. This then worked as a knob.

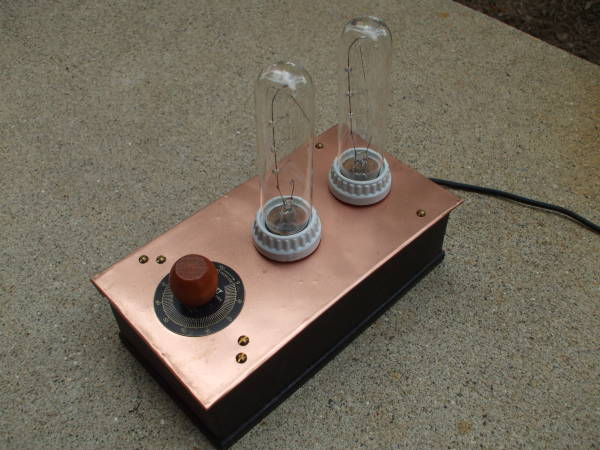
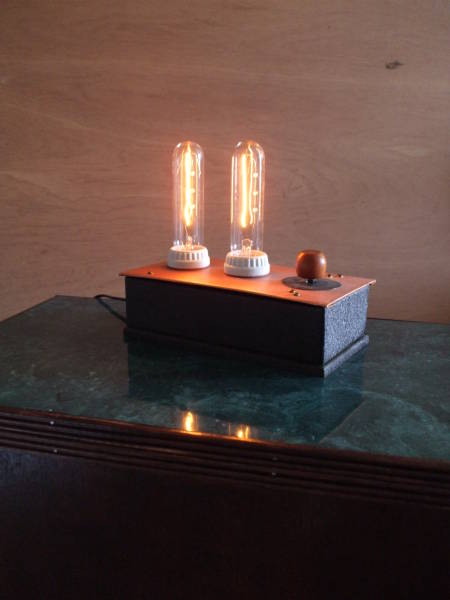
Here's the final assembly. Those are 25 watt bulbs intended for desk lamps and other small or ornamental lamps.
Since they are wired in series and P = V2/R, they will use a maximum of 6.25 watts each or 12.5 watts total.
Here is the lamp in operation!